In today’s property market first impressions count as much today as at any time in the past, the entrance to a property can say a lot about the current owners on how well the property is maintained. A well-maintained entrance can go a long way to creating that first good impression of your property.
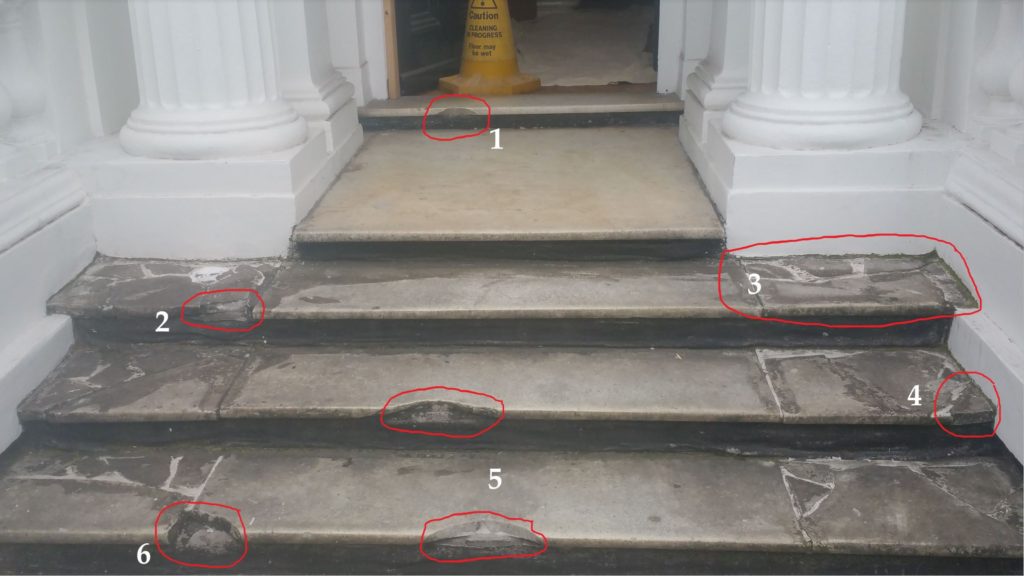
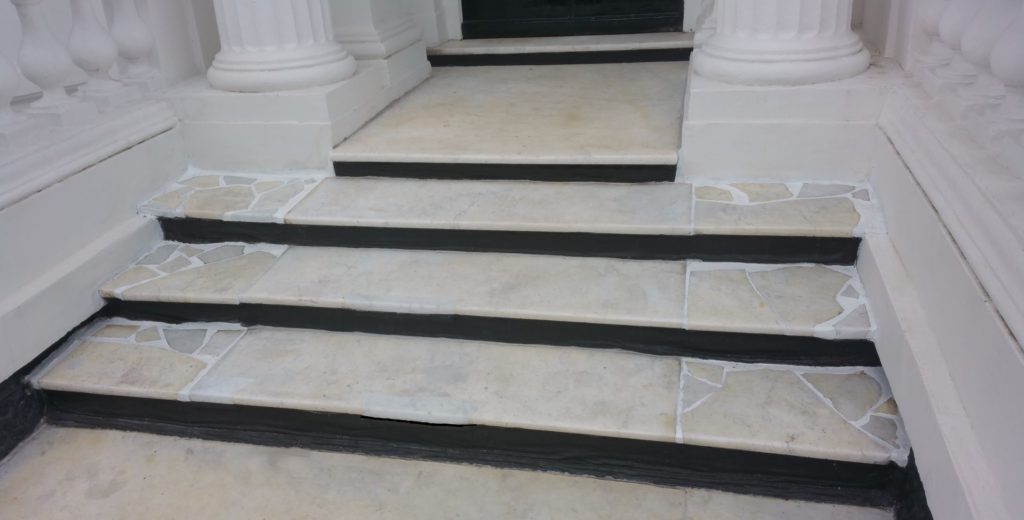
Here are 3 examples of exterior Natural Stone Stairs I have repaired. The repairs range from repairing small and large chips to the nosing’s, replacing a damaged step and a patch repair on an old Portland Limestone step. I have also included in the process the materials, cleaning agents and treatments used in the repairs.
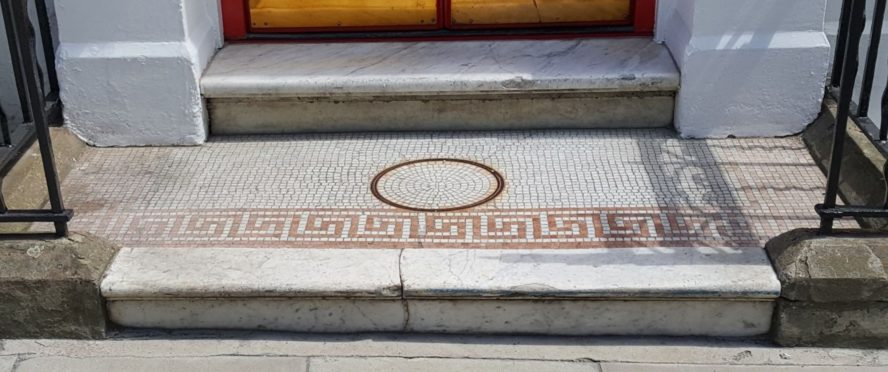
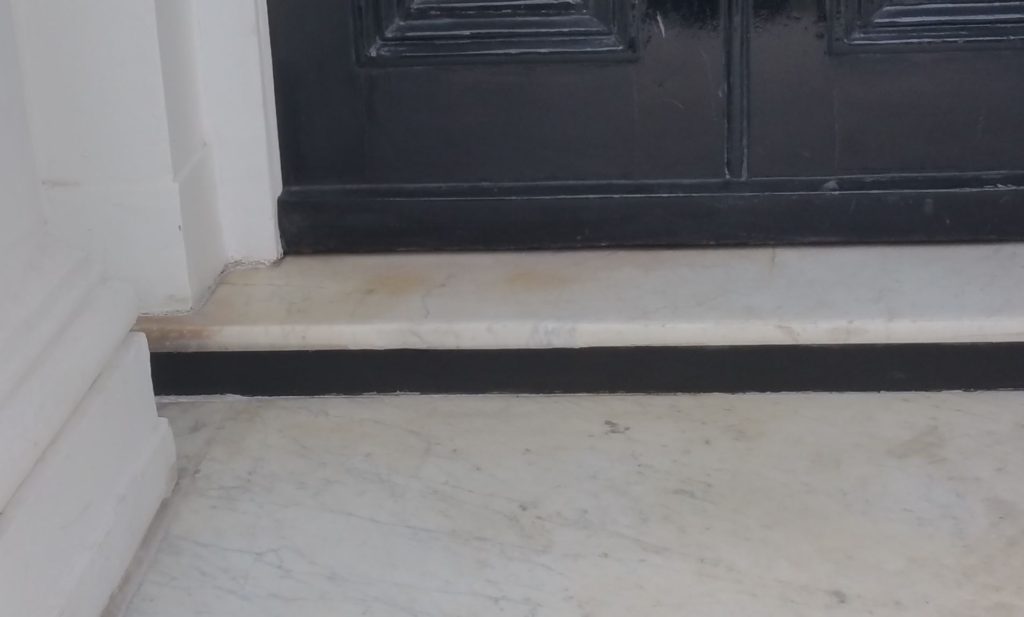
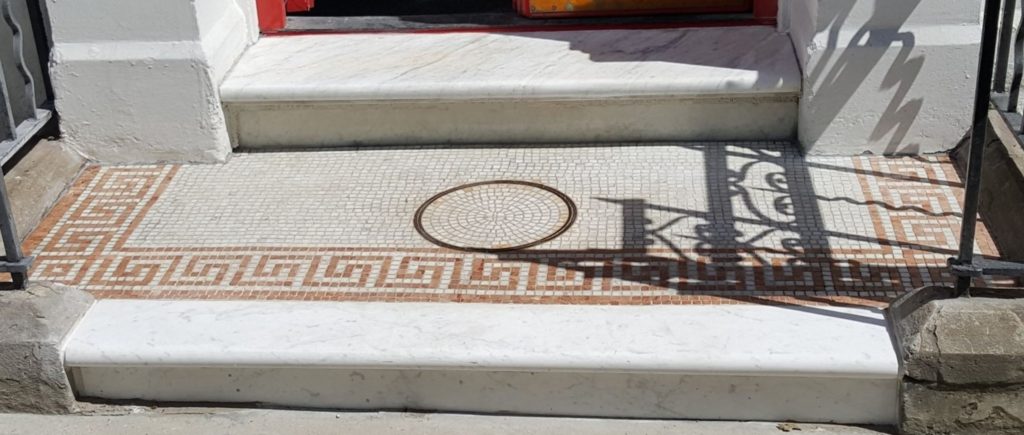
Carrera Marble Stairs and Threshold
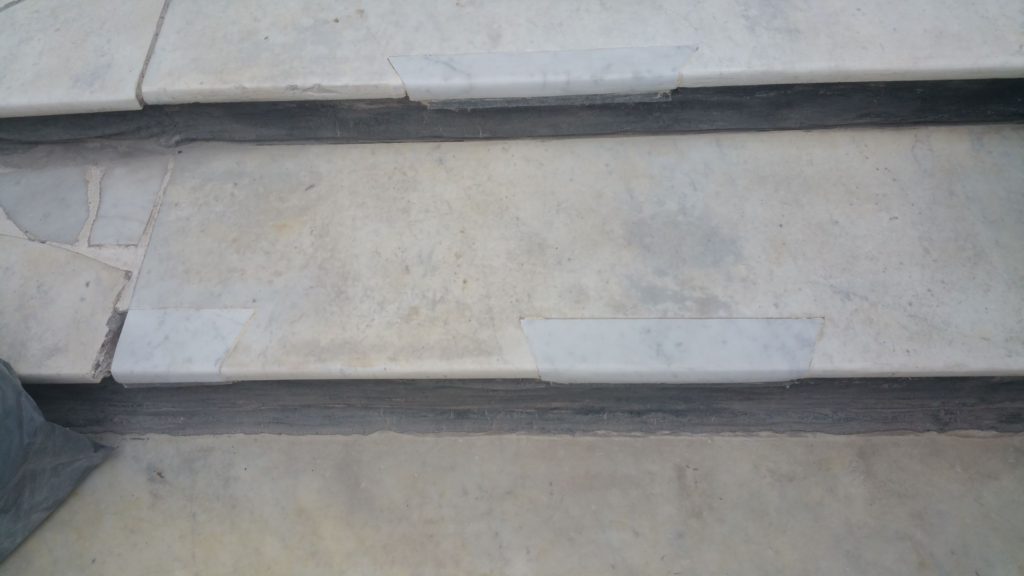
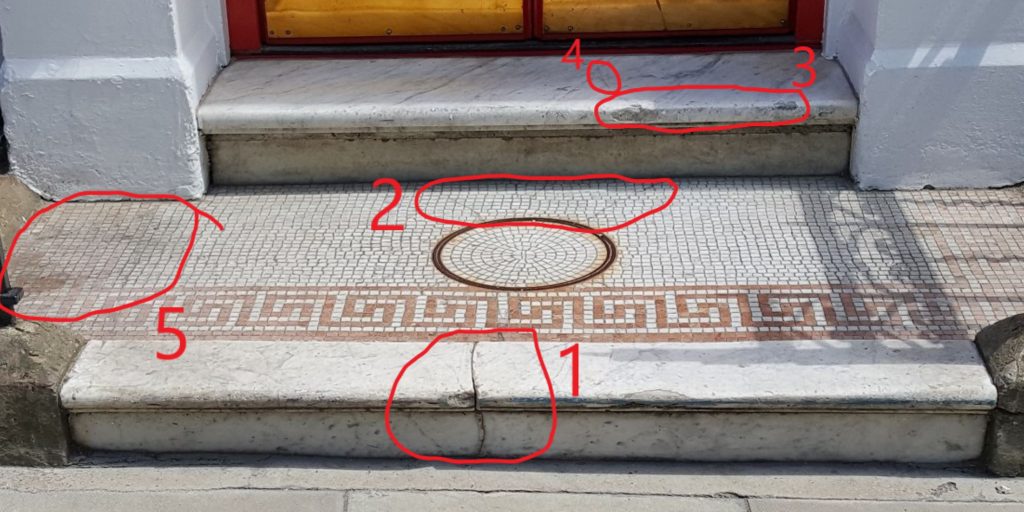
The front stairs to this property had been neglected for a few years, there were signs of some previous repairs and only some very basic weekly cleaning.
The Damage
Stains and Old Seal
There was also signs that the stairs had been sealed in the past but most of this had worn off and only the sides of the steps had the residue of the old on it. There was also some yellow/brown staining in the marble which is common to this type of marble and could not be avoided, however, the staining would make matching the stone for repairs a little more difficult.
Cleaning the stairs
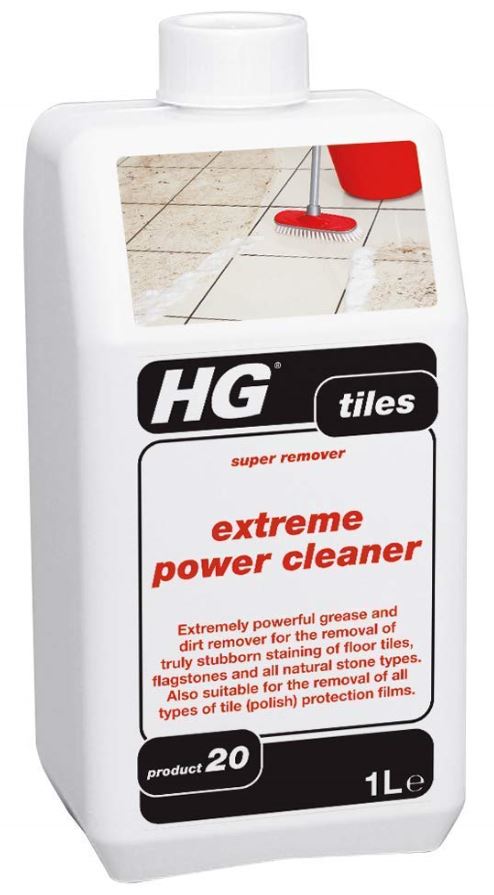
I started by cleaning the stairs with HG Extreme Clean, a 3 to 1 mix was good enough to remove the dirt. I applied the solution and left it to stand for about 10 minutes before scrubbing with a corse black scouring pad. I had to apply Extreme Clean in concentrated form and scrubbed it with the black pad to remove the residue of the old seal.
WAS DIFICULT TO REMOVE
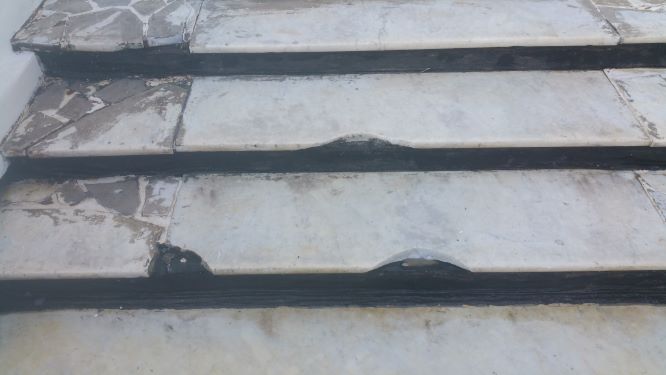
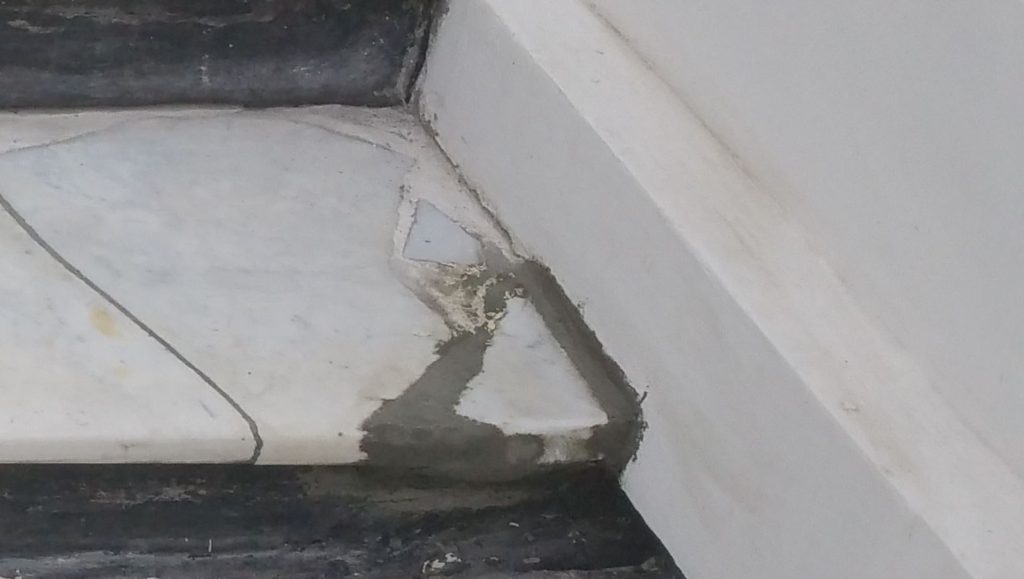
Once the stairs were cleaned I could see some more minor repairs are needed including a few smaller chips and some cracks in the marble.
I also noticed the joints of the crazy paved sides of the steps were of a sand and cement mix which were then painted white. I could now see the colour of the marble so matching the stone for the repairs was now possible.
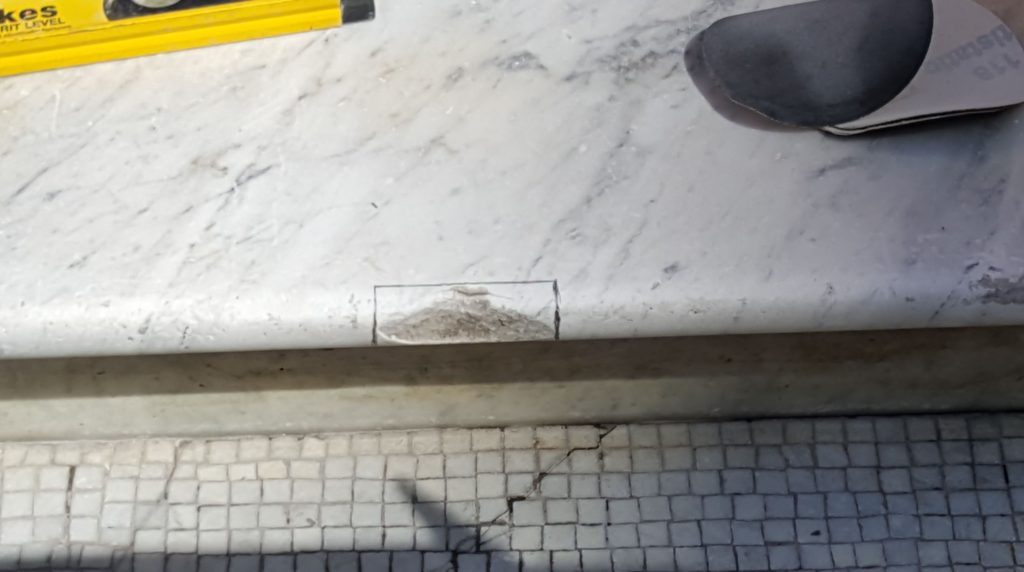
Repairing the large chips
I started by marking out the areas of the step to be repaired, the stone will be cut back in the shape of a dovetail to give the repair a little extra strength.
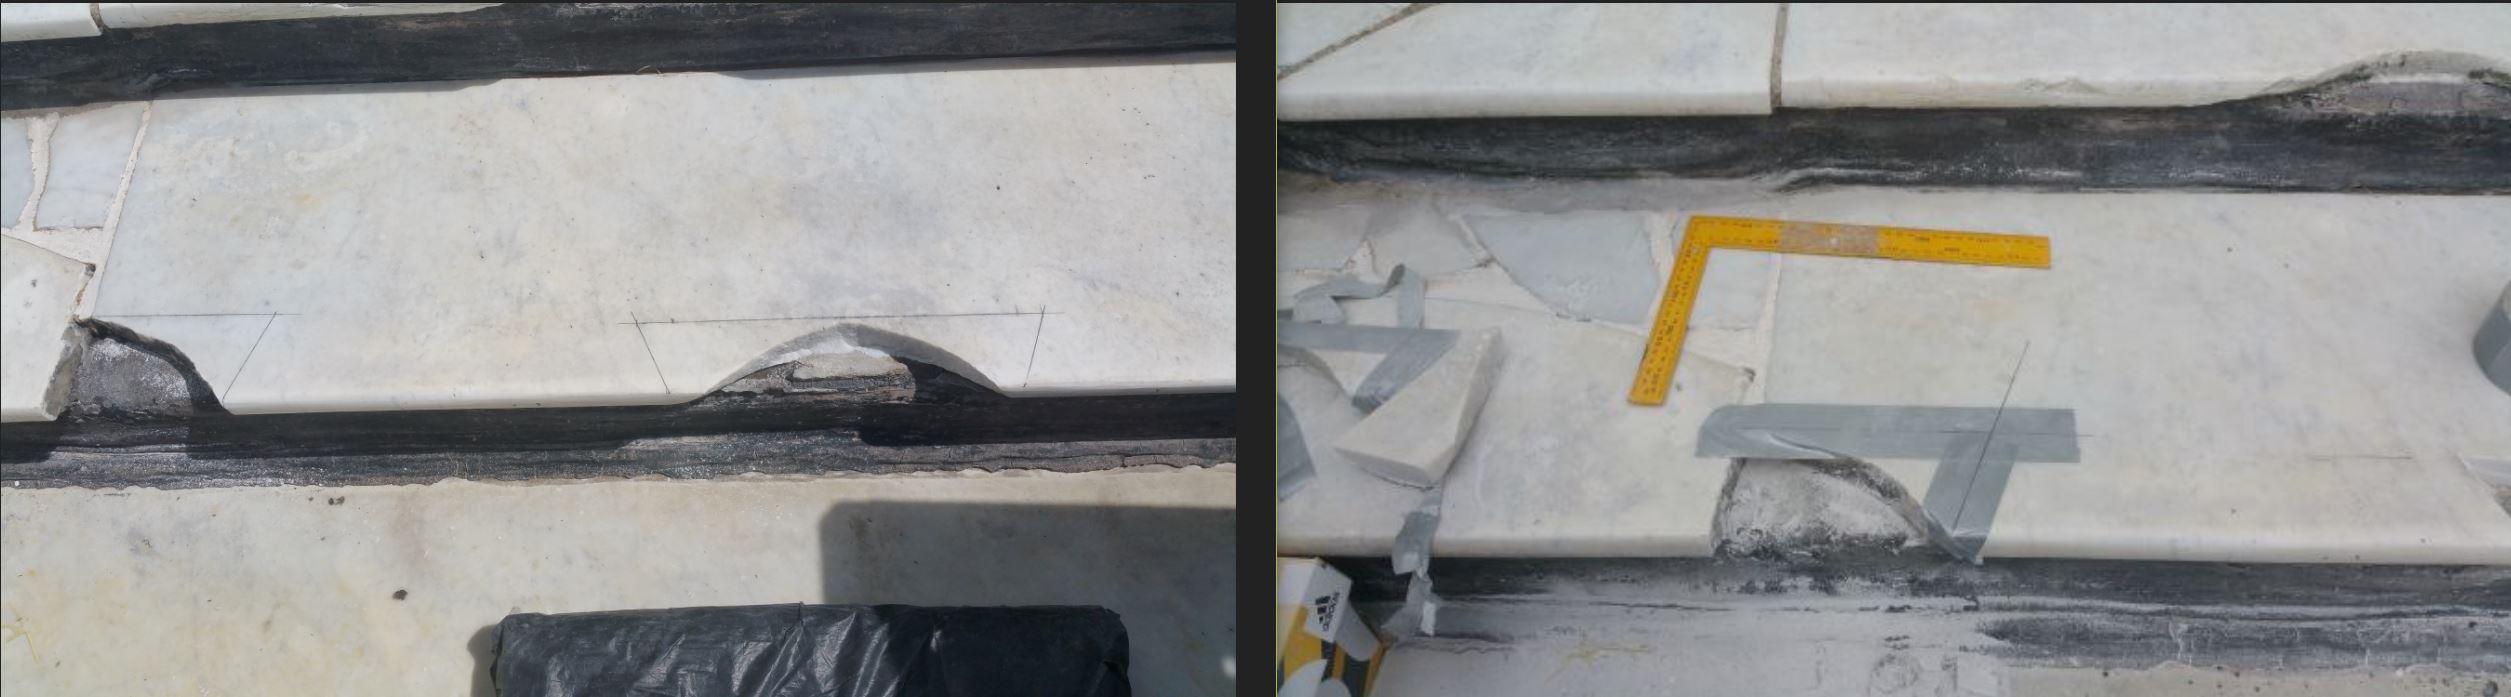
The old marble is very brittle. To minimize any splintering, I taped of over the areas to be cut back with some strong duck tape and used a new diamond blade to ensure as clean a cut as possible.
GRANITE SUPPORT
The substrate and risers of these stairs are made of some sort of agglomerate which was deteriorating and did not offer much support to the repairs that I was about to do. I decided to cut into this material and fix a piece of granite into it to add more support and strength to my repairs. You should note that this is not always needed for these types of repairs.
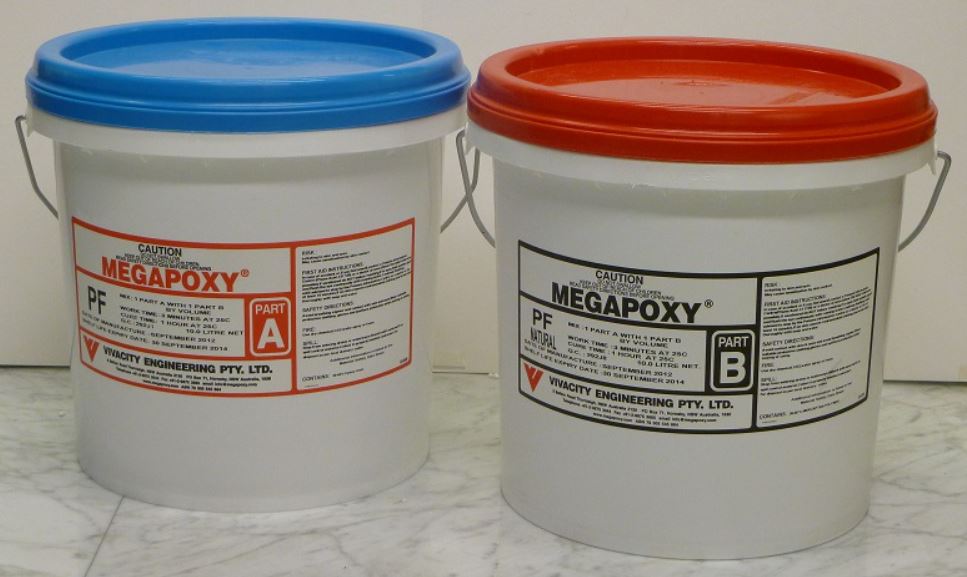
The granite and marble are fixed in place using Megapoxy but a space is left around the edge of the marble. I used 2-part resin adhesive/filler with a little pigment in it to bring it closer to the colour of the original marble.
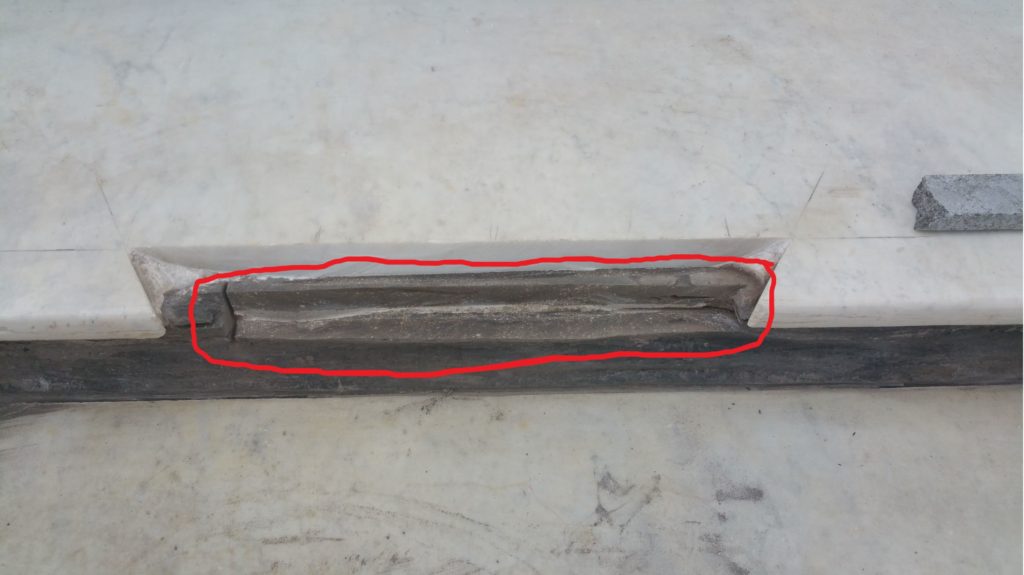
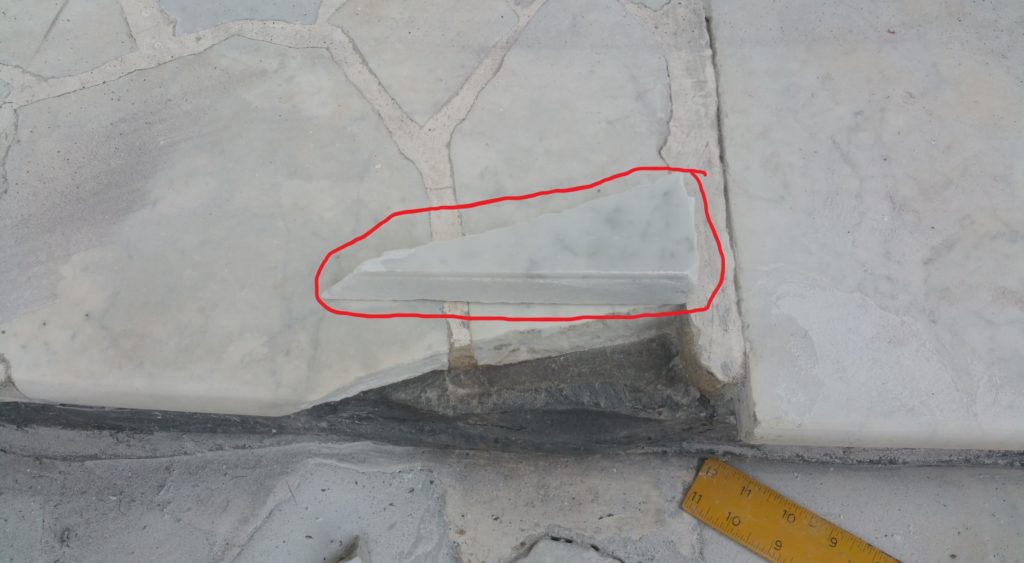
REPLACING A MISSING PIECE OF MARBLE
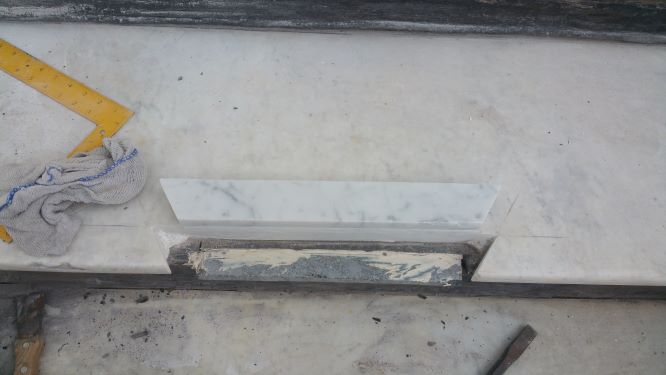
One of the pieces of crazy paving was missing from the left side of the top step. I cut back the area and cut a small piece of marble to fit into the space.
The Threshold
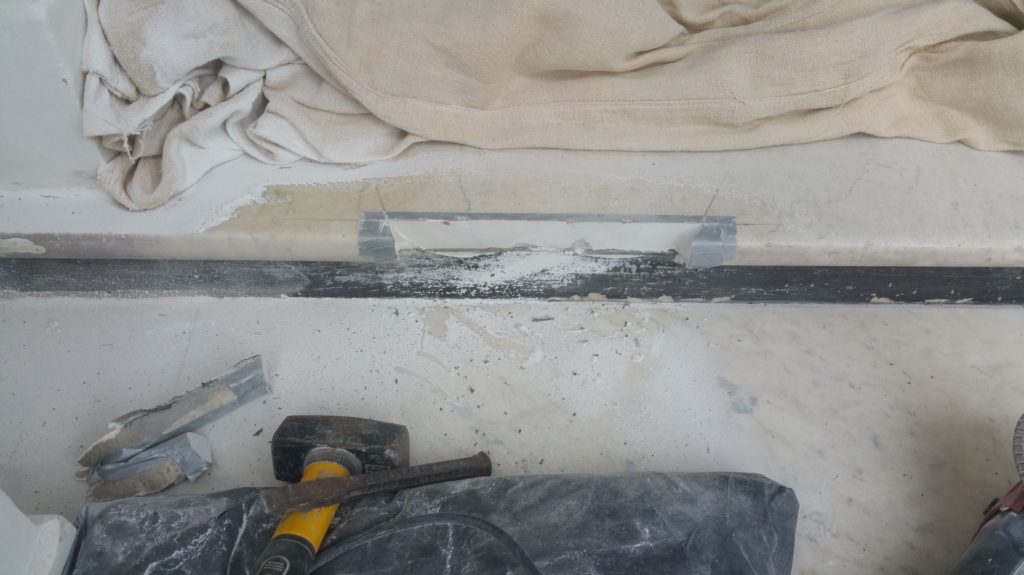
The damaged area of the threshold is marked out, taped and the cut away.
I found an old piece of Carrera Marble with some yellow staining in it, this was used to repair the Threshold Step. When all the repairs are completed the stairs will be sanded back to a honed finish, this will bring the colour of the old and new stone closer together.
The piece of marble was fixed in place using Megapoxy and two different coloured resins around the joints
THE LOOSE PIECE OF MARBLE
The loose piece of marble was removed cleaned and fixed back into its original position. I used Megapoxy underneath the stone to hold it in place, around the sides I used a sand and cement mixture to match the other pieces of marble.
Small Chips, Cracks and Old Silicone
The small chips and cracks were cleaned out with a steam cleaner and repaired with coloured resin fillers. The old silicone sealant was removed and replaced with new.
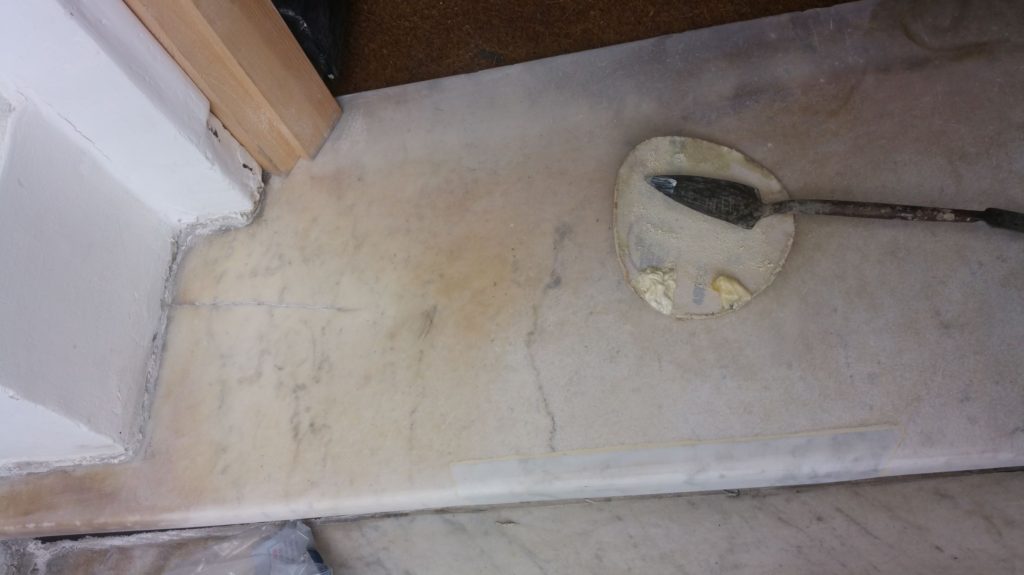
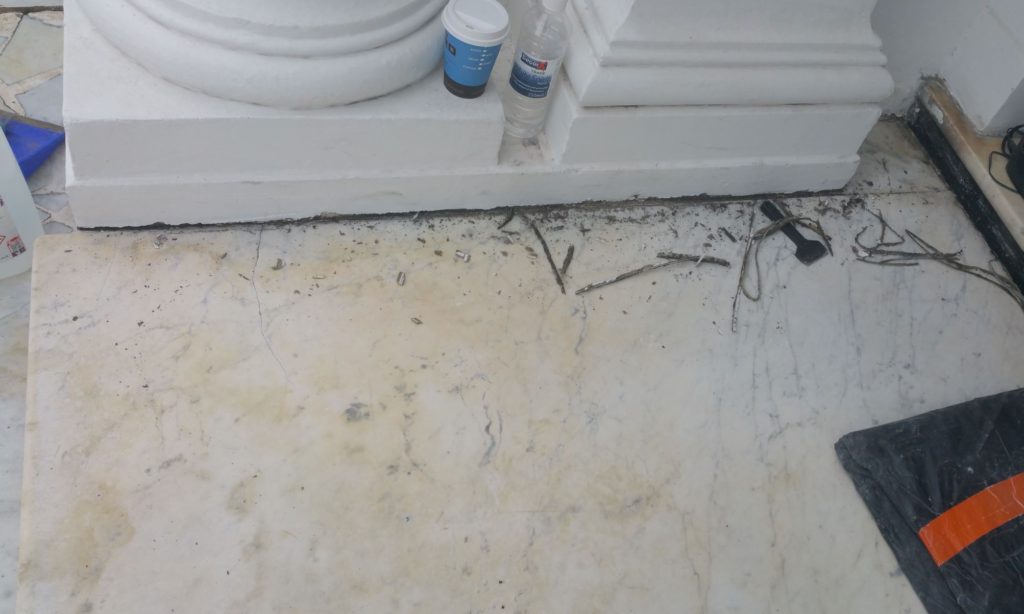
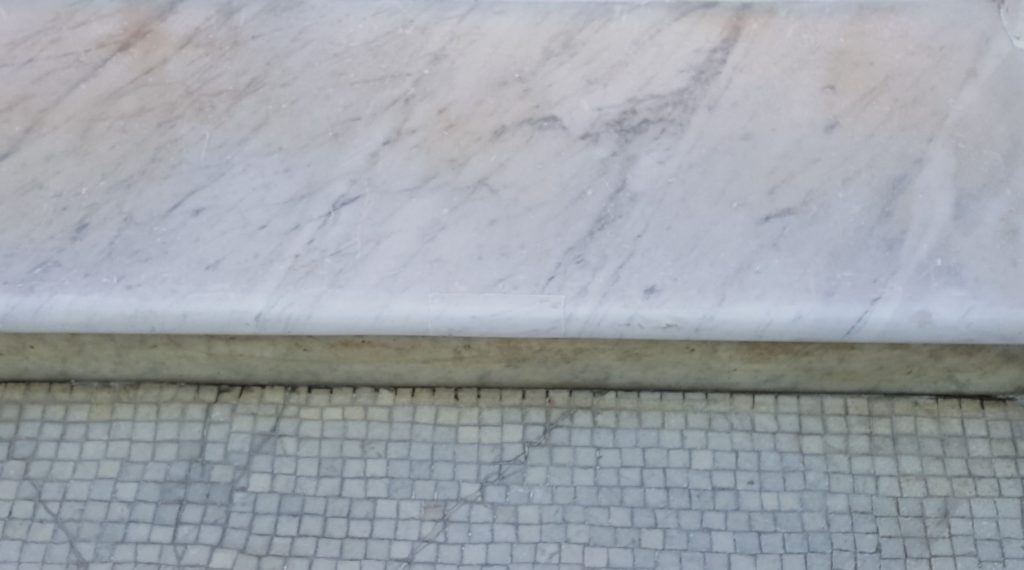
Honing, final clean and seal.
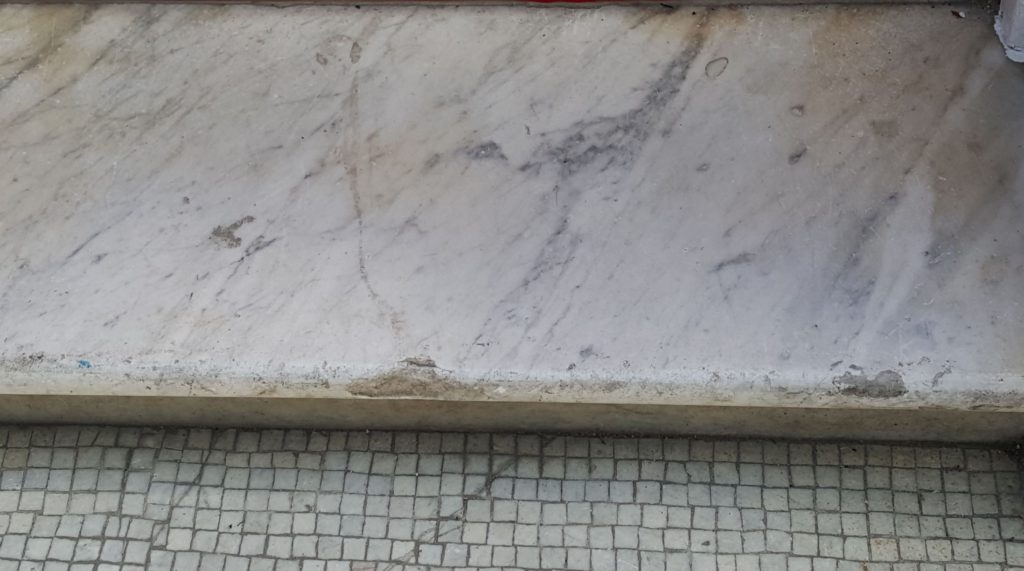
All the repairs were now complete, the marble was ground back to a honed finish using 60 grit and 120 grit diamond abrasives, this removed all of the pitting and scratches etc. The stairs were then given a final clean using HG Neutral Cleaner, two coats of Lithofin Colour Intensifier was applied to seal the marble when it was dry.
REPLACING A DAMAGED MARBLE STEP AND RISER
This marble step is a side entrance to a commercial property, it has a dual purpose as a staff entry and exit point and goods entrance. It is in constant use with a lot of heavy traffic 7 days a week.
THE DAMAGE
THE CRACKED STEP AND RISER
The owners of the property and I decided to replace the step and riser instead of repairing it. The replacement step is of 40mm Bianco Carrera Marble with a full bullnose front edge detail, the riser is a 20mm thick piece of the same marble. Both were supplied with a honed finish. The replacement marble was supplied by Manimpex Ltd who provide a wide range of services including kitchen worktops and bathroom vanity tops etc, check them out at www.manimpex.co.uk
Removing the old marble
The old marble is removed by cutting around the joints with a diamond blade. A Bolster Chisel is hammered into the joint between the step and the riser to separate the marble from the adhesive. Once the marble has been removed the old adhesive is chipped away down to the substrate.
Preparing the surface
COPPING STONES OR PAVEMENT
Prior to fitting the new marble, I scored the surface with a diamond blade and coated it with a 3 to 1 mix of PVA. These would help with the adhesion when the marble is fixed in place.
REPAIRING THE CHIPS ON THE THRESHOLD
To repair the larger chip on the threshold I used a piece of marble from the damaged step. This would give me a perfect colour match as it is likely that they were both originally cut from the same slab of marble.
The Threshold was cleaned, and the damaged area was marked out and squared off. Most of the stone was cut out with a 115mm (4.5inch) diamond blade, but because the chip was very small, I had to tidy it up with a Dremel and a small diamond blade.
The small piece was fixed in place using a white resin adhesive. The smaller chip was repaired with the same resin but with a little pigment added to help blend in with the original marble. All the excess resin was then sanded off to leave a nice clean finish. The deep scratch on the threshold was also sanded back until it was completely removed.
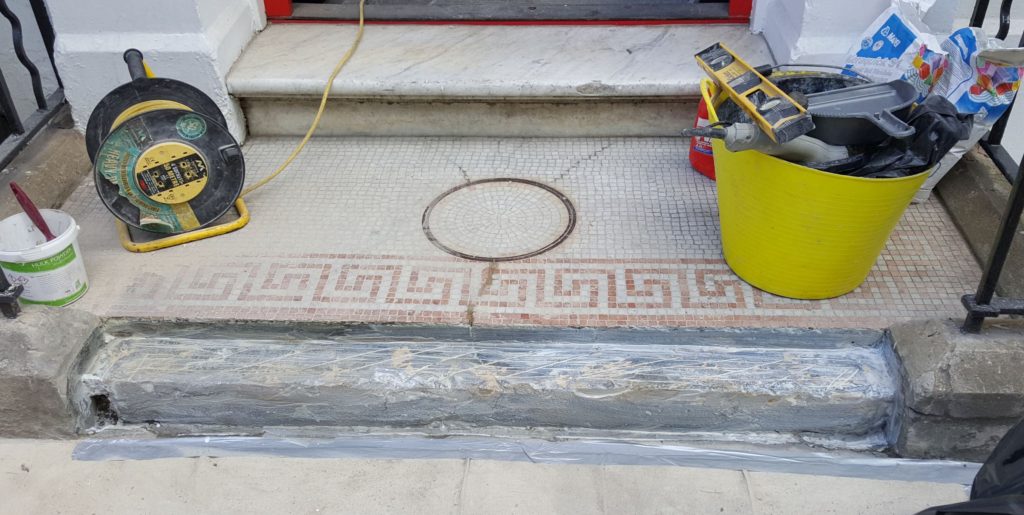
REPAIRING THE MOSAIC
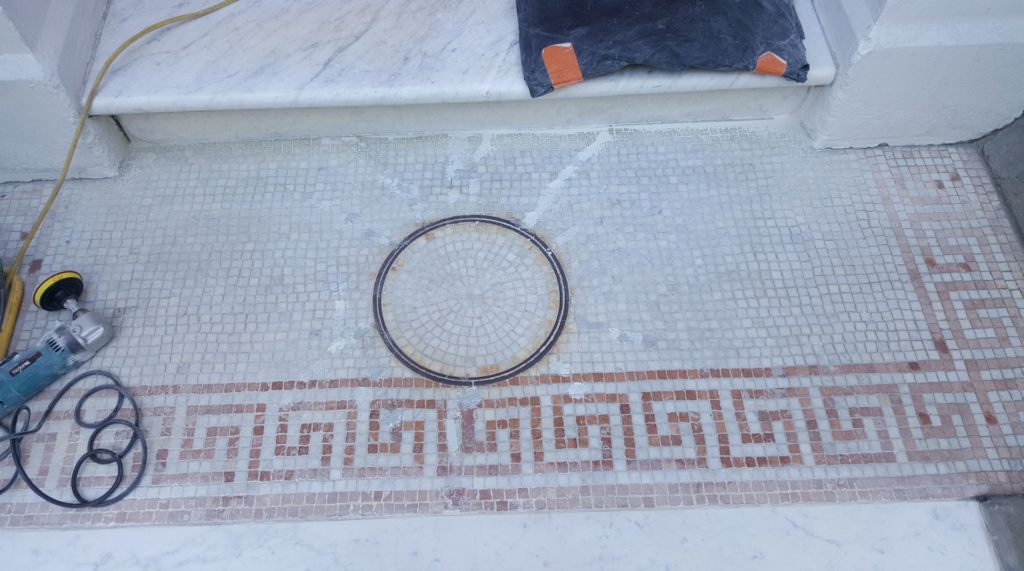
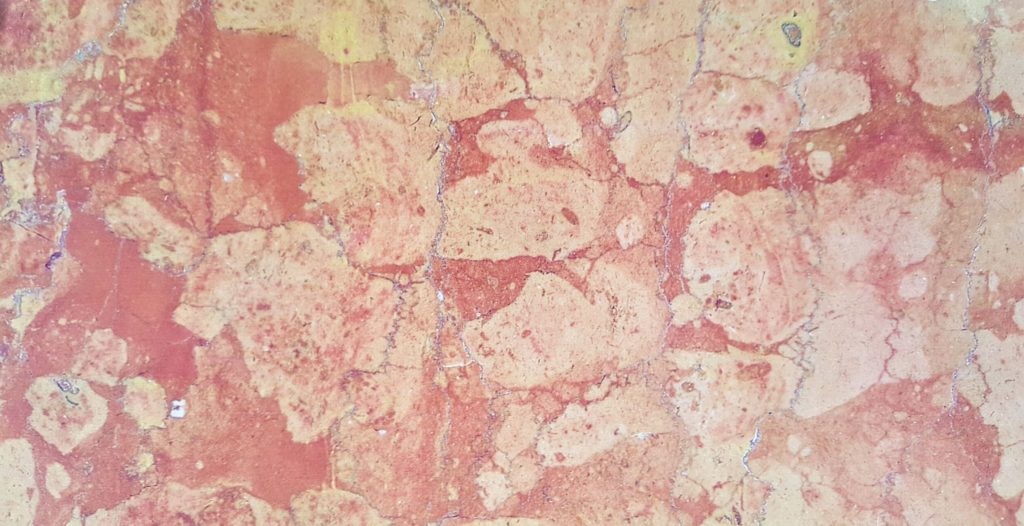
The cracks in the mosaic were cleaned out and any loose material removed. The cracks were repaired using a white resin filler, I added pigments to the resin to create 4 different shades of white. I also made 1 batch of light grey filler for the cracks and missing pieces of Carrera. The orange inlays in the mosaic are made of Rosso Asiago Marble. A batch of resin filler was made to match this colour and applied to the areas were this marble was missing.
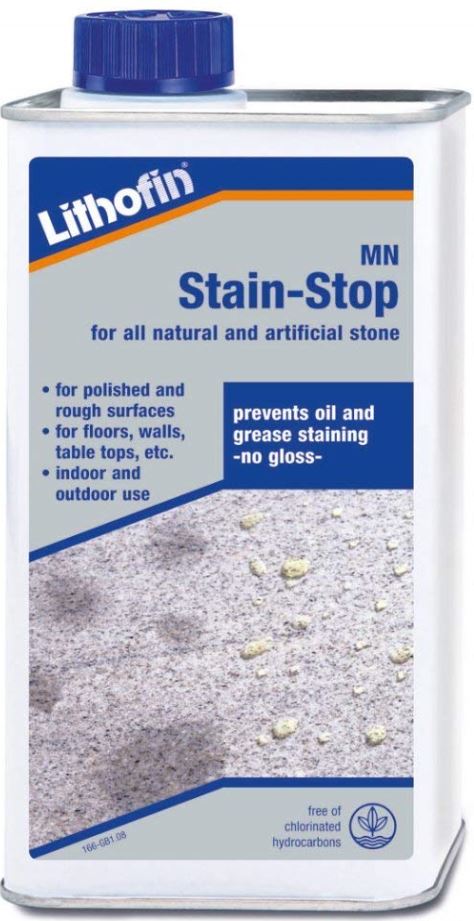
The whole area was given a final clean and sanded back to a honed finish, this removed any other light scratches, pitting and stains etc. Finally to protect the marble from deep staining and to make future cleaning easier the marble was sealed with Lithofin Stain-Stop.
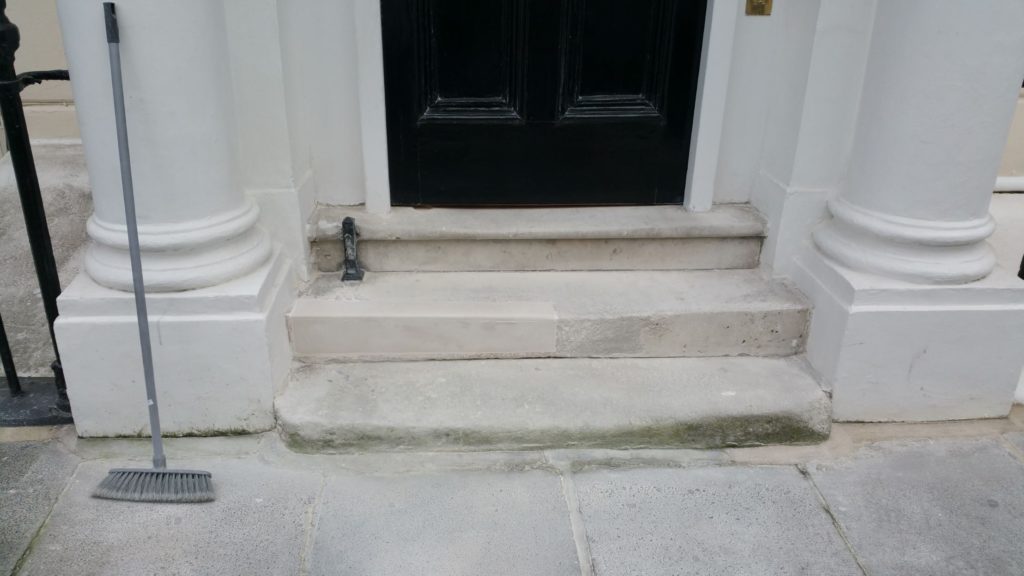
Portland Limestone Step: Patch Repair

The photo above is the original sent to me by my clients Dauntons Soar Property Management in Central London. It is the main entrance of a multi occupancy property that they manage. The instruction was that the owners of the property wanted to make the step safe for use, and they wanted to keep as much of the original stone as possible. The owners of the property were also happy with the general appearance of the stairs, so no cleaning etc was necessary.
THE DAMAGE
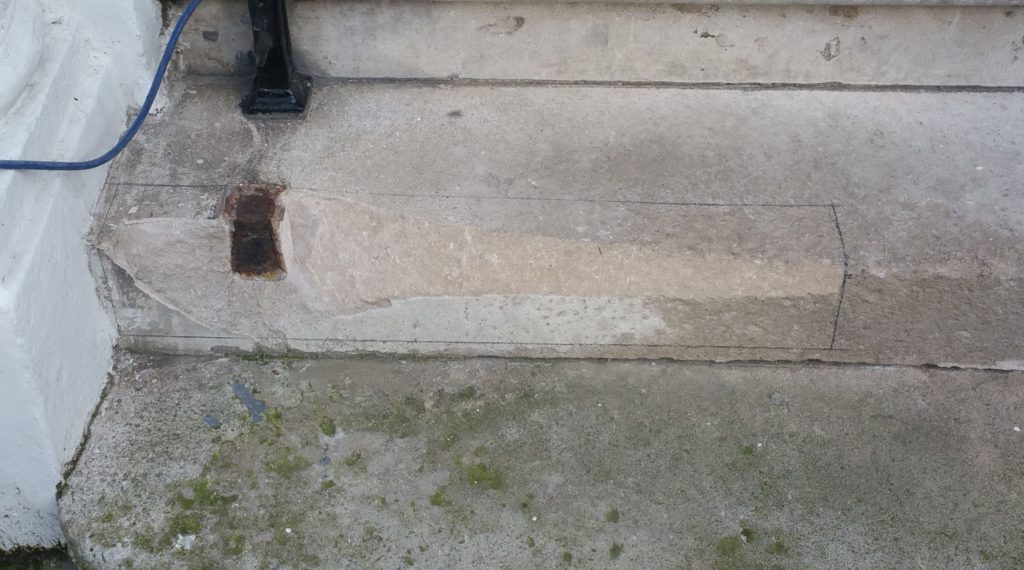
The boot cleaner embedded into the stone had deteriorated many years ago and was already in two pieces. It is possible that the part of the boot cleaner closet to the edge of the step was struck and the force of the impact cracked the stone. The damaged part of the boot cleaner was still embedded in the stone and would have to be removed. I started by marking out the area to be cut away.
CUTTING BACK THE STONE
The damaged area is cut back to a depth of about 24mm all around, this will allow for fitting a 20mm piece of stone plus 4mm of adhesive. The part of the boot cleaner is removed without causing any more damage.
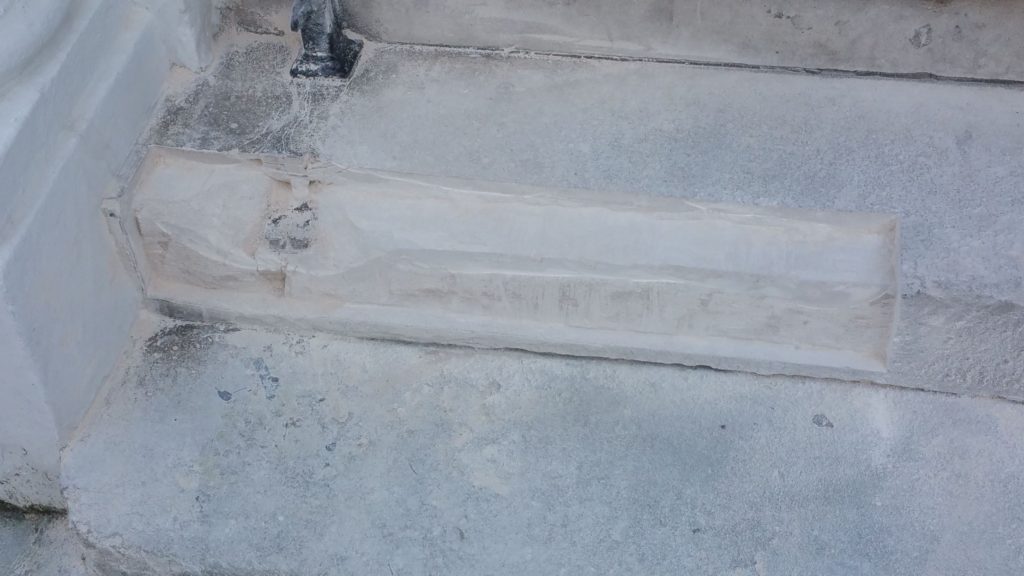
FITTING THE REPLACEMENT STONE
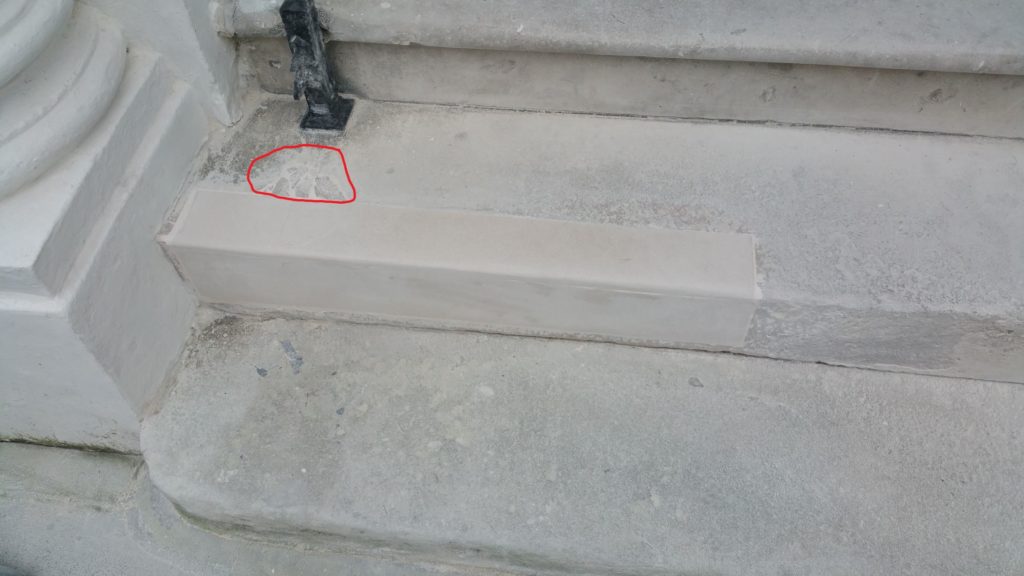
I had a small piece of Portland Limestone left over from another project, this had already been cut to size and milled down to a 20mm thickness in my workshop. The stone was fixed in place using Megapoxy and the joints finished off with a buff coloured resin-based filler. A small section of stone (circled) looked like it would eventually break away, so it was gently removed cleaned and fixed back in place with the resin filler to match the joints.
LIGHT ACID WASH
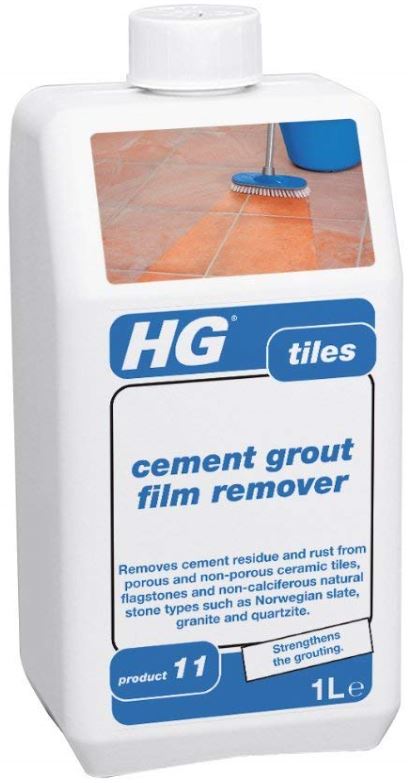
Normally I would apply a seal or finish to a repair of this type but on this occasion the stone will not be sealed. I want the new stone to blend in with the old, so it was sanded down by hand with a 60-grit abrasive to leave it with a rough finish. Finally using a small sponge and HG Cement Grout Film Remover (This product has a small amount of acid in it), I gave the new stone a light acid wash. This will further aid the ageing process however, this will take many years to happen.
4 YEARS LATER
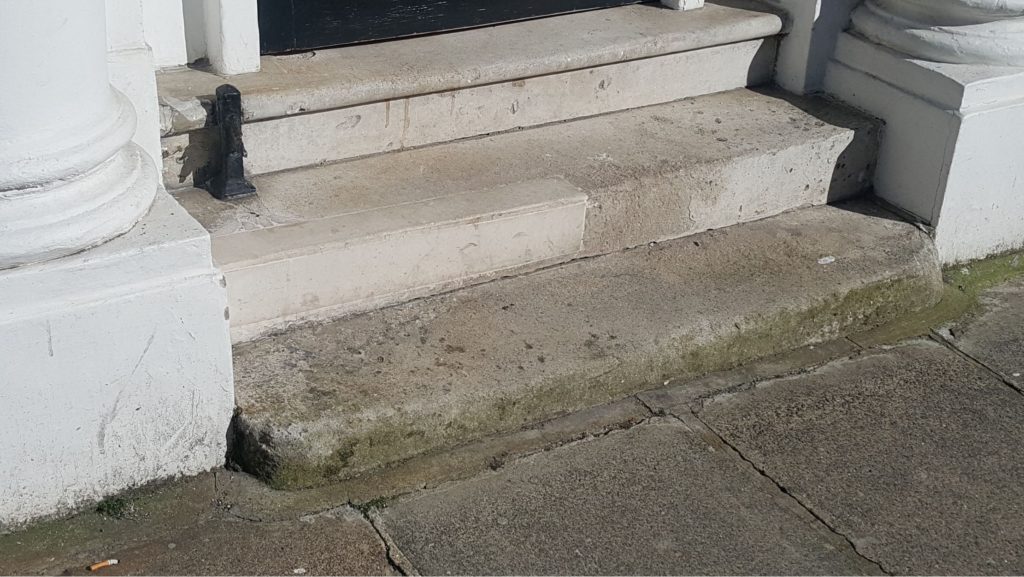
The Portland Limestone Step was repaired in January 2015 it is still solid, safe and functional today. The new limestone is slowly blending in with the older stone.